Configuration of Video components
Configuration of UgCS Client
The following settings are defined for the situations when the client and the server are on different PCs:
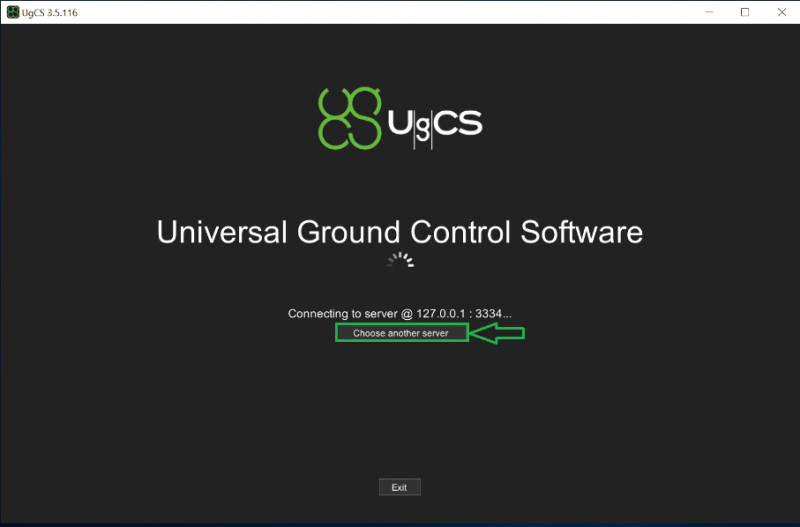
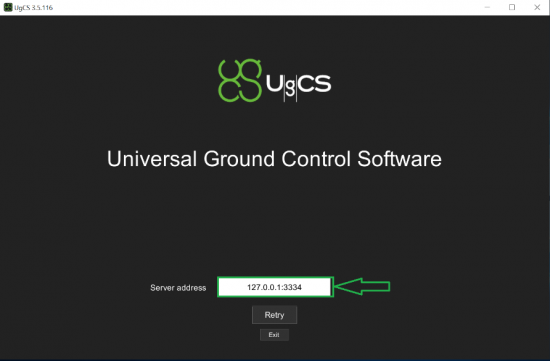
- Start the UGCS client. When the UgCS screen appears, select the «Choose another server» option and enter the following IP: port – [IP address of UCS server]:3334.
- The credentials screen at this point should appear. Please fill it with valid user credentials.
Note: Until no other user is created, during the start no credentials are asked since the admin account is used by default.
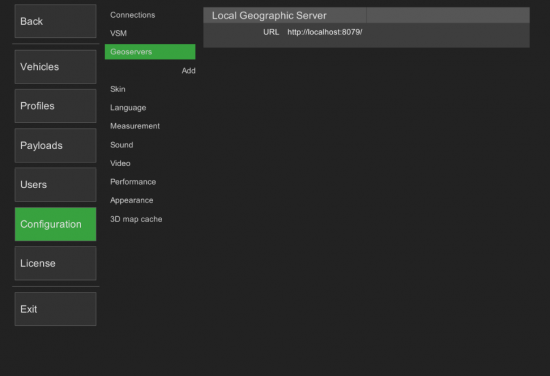
- In order to connect the UgCS client to Geoserver, go to Menu – Main Menu – Configuration – Geoservers, and enter the IP of the server PC instead of “http://localhost”.
-
Make sure the DJI vehicle is already connected. In the UGCS client, it should appear in the vehicle list in the top right corner.
-
To enable camera control via keyboard, in the UgCS client’s top right corner click on the keyboard icon (Input Mapping), and from the dropdown menu select the «Keyboard – payload» option. The input window can be closed. Is also possible to define here any joystick as the payload control device.
-
In order to control cameras, the user needs to have control over the vehicle. To gain control, make sure it is not locked by any other user, and then click on the vehicle icon in order to open the dropdown menu. Click «Gain control». At this point, the vehicle has been locked by the current user.
-
On the main screen select the vehicle. In the keyboard payload control case, the camera can be controlled by pressing ↑ / ↓ or W/S keys. To rotate the camera to the left or right, press the Q/E keys. Please note that in order to control the camera, the UGCS client should be in focus. It is enough to just click anywhere in the UGCS client to focus.
Configuring the connection of UgCS for DJI to UGCS Video Server
Attention! To change any settings in UgCS for DJI the drone must be connected to the tablet!
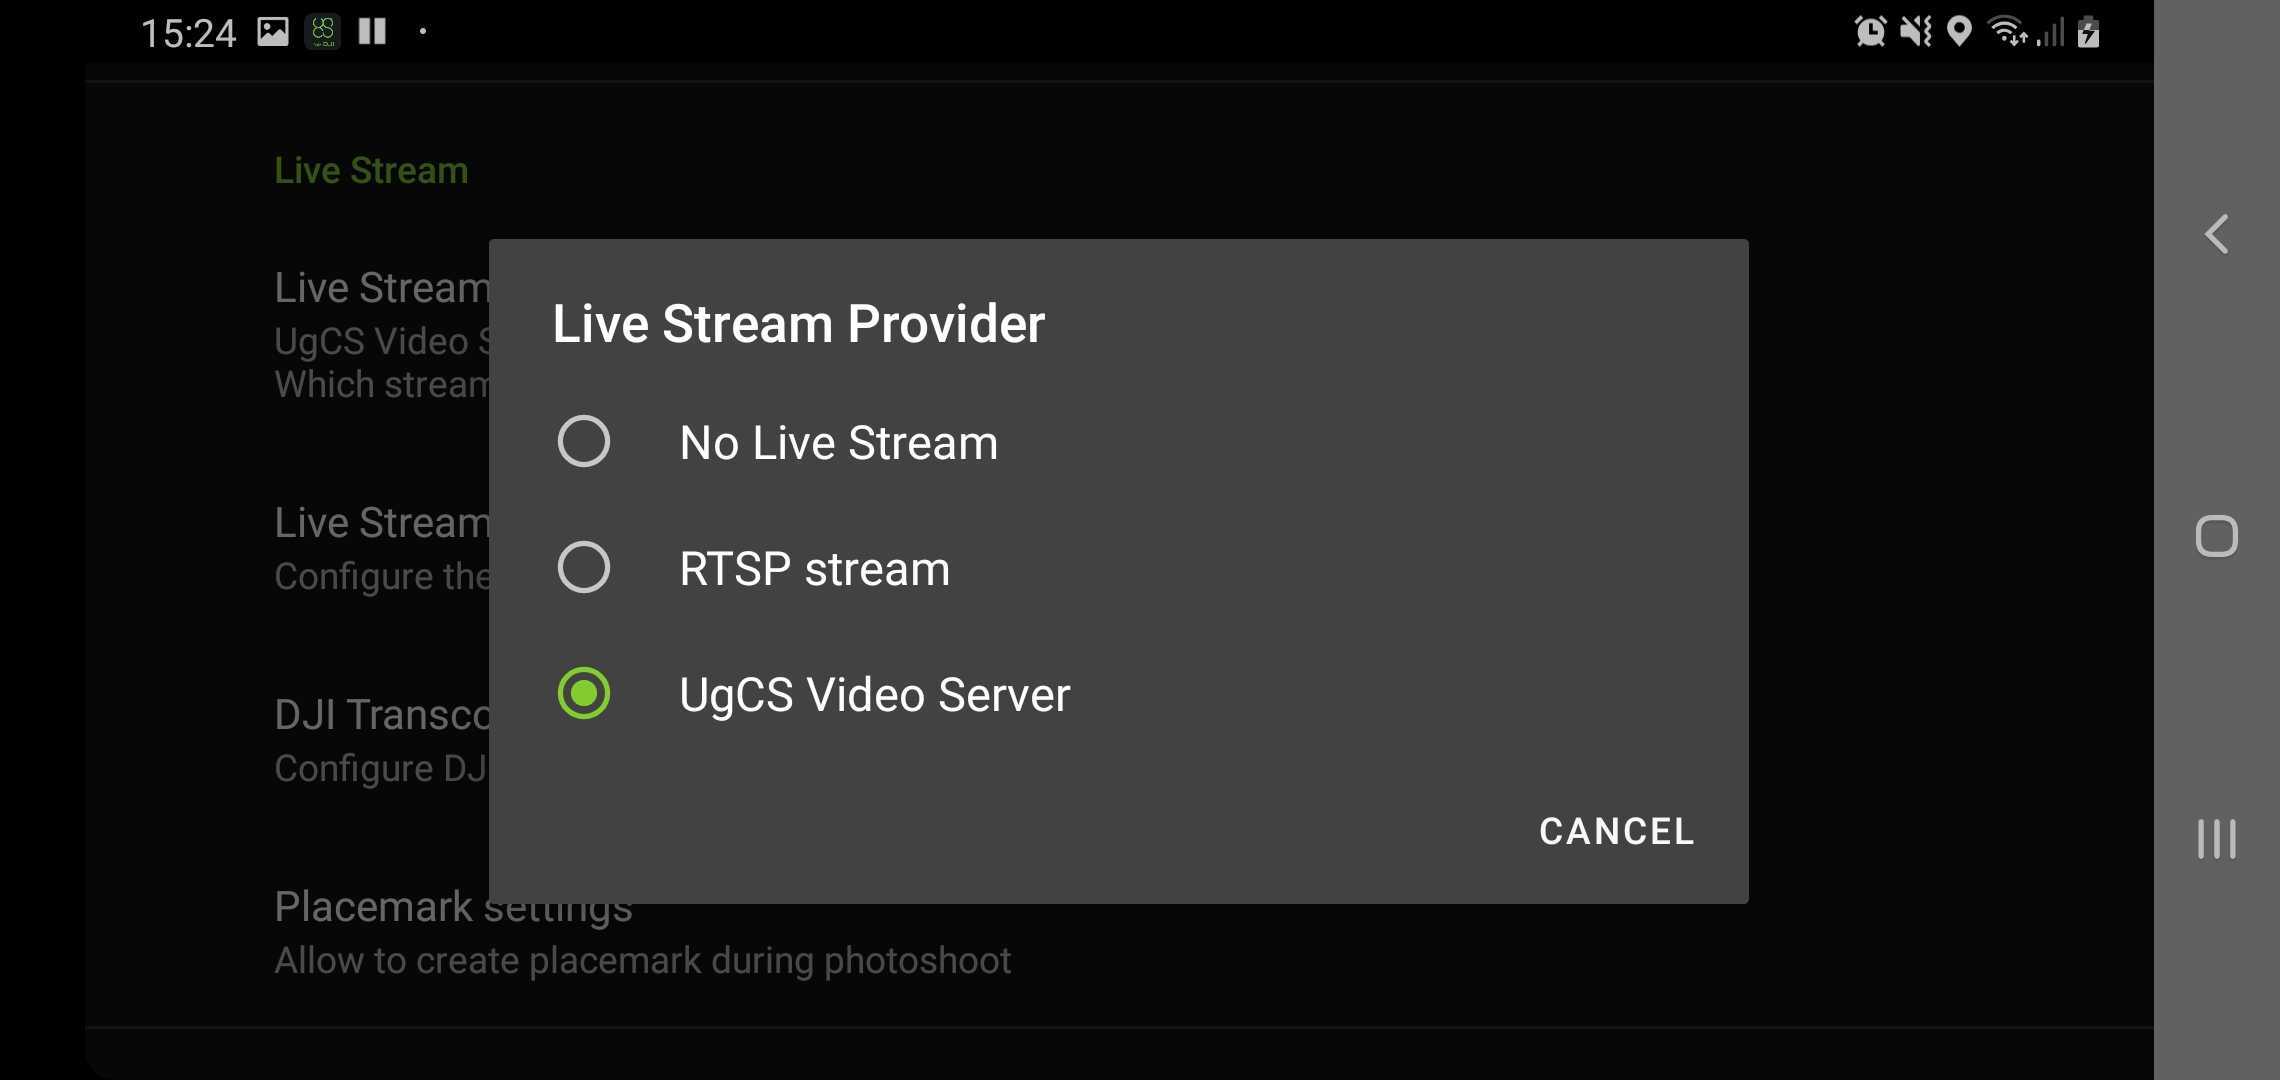
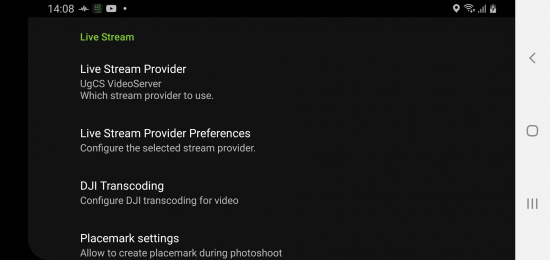
- In UgCs for DJI go to the Menu and under the Live Stream section, open Live Stream Provider
- Select UgCS VideoServer
- If the Video server and the Mobile device are in the same network, at this point UgCS for DJI should be ready for use
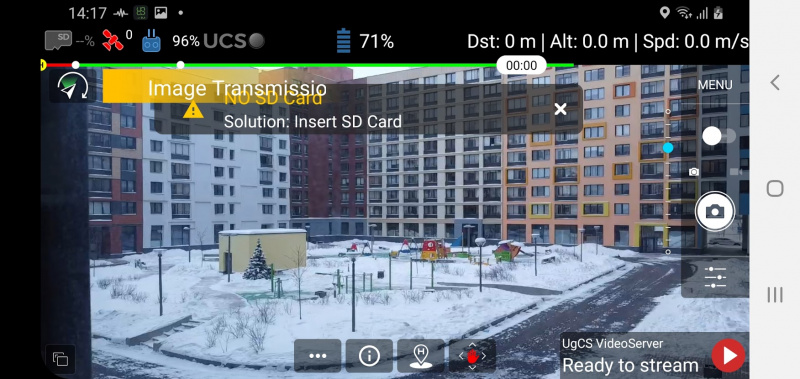
- If not, have to use a direct connection:
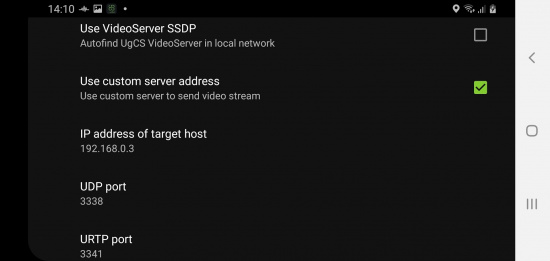
- Go to the Menu and under Live Stream section, open Live Stream Provider Preferences
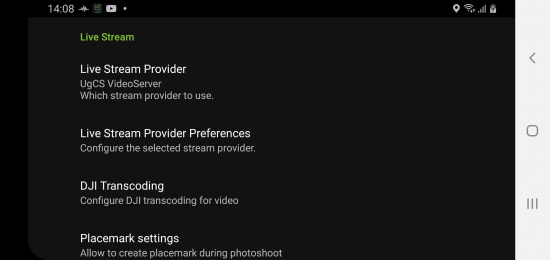
- In the UgCS VideoServer setting
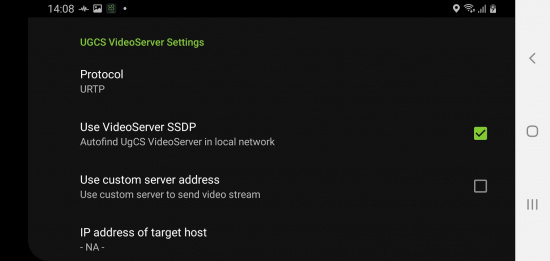
- Provide the IP address of the target host (IP address of the Video Server)
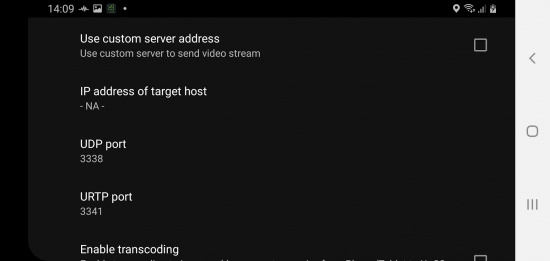
- Unable "Use of custom server address"
- The UgCS for DJI is ready for stream
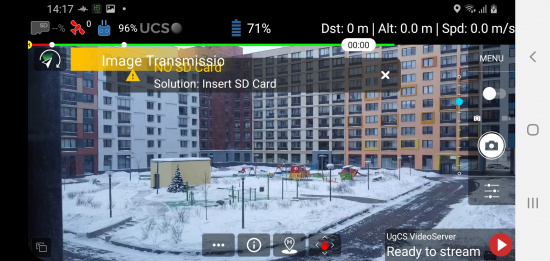
Note: If you use a firewall make sure that you have a rule allowing incoming connection on the Video Server through the UDP port 3341.
- DJI Transcoding:
Allows changing transcoding method and bitrate.
- Use DJI Transcoding. Auto – allows DJI to transcode the stream. Enabled - phone or tablet will transcode the stream. Disabled – transcoding is disabled.
- Data rate, Mbps. The slider allows increasing or decreasing the stream bitrate in order to change the stream performance and quality.
Configuration of VideoPlayer
Attention! VideoPlayer must be configured after installation and configuration of UgCS for DJI.
- Start the UgCS Video Player
- Enter the same user credentials and connection info:
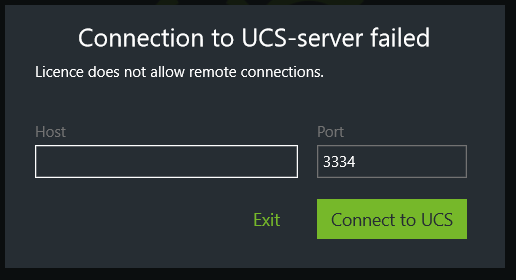
- Host: – [IP address of UCS server]:.
- Press Connect.
- In the Video Player, click UCS icon.
- Press "Play" button on the bottom left corner of UgCS for DJI

- At this point video stream should be available from the drone selected in UgCS Client.
- Another way of manual streaming is to turn the UCS icon off and click the “Channel button”.
- Select the connected vehicle by pressing from the selection window.
Note: If it is not, please make sure the Windows Firewall is not blocking the connection. In most cases after some time, it should prompt to allow this connection. Otherwise, it should be adjusted manually.
Updated 3 months ago
